
Step-by-Step guide for specific actions
Navigate to the links below for detailed steps
Next Article: Partner Marketing Toolkit - Promoting your commitment to positive environmental impact
-
All Users
-
Channel Partners & Distributors
-
-
MPS Providers
-
Commercial Print & Packaging
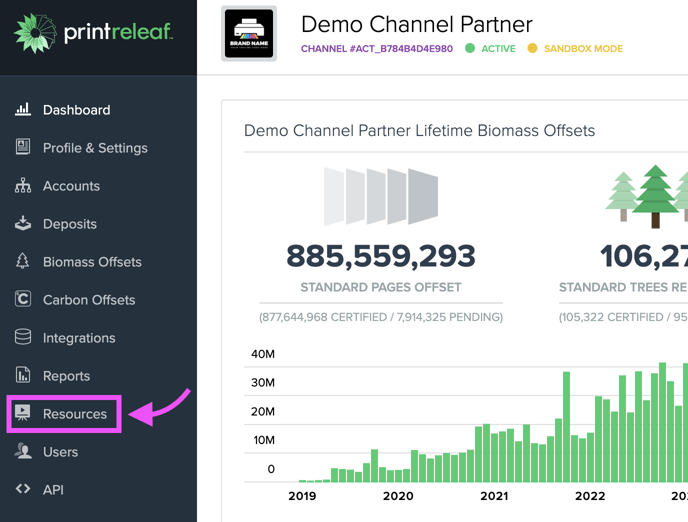
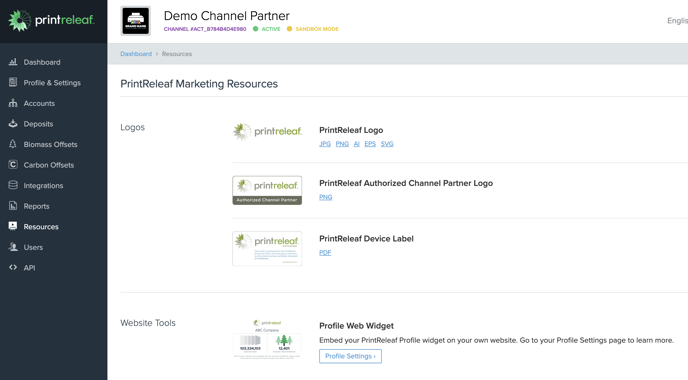
Accessing PrintReleaf Marketing and Promotional Resources
-
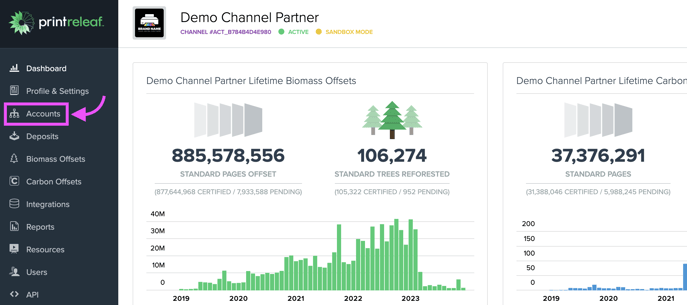
Click the Resources Icon on the left side of the dashboard.
-
Download Items: Select and download the desired resources.
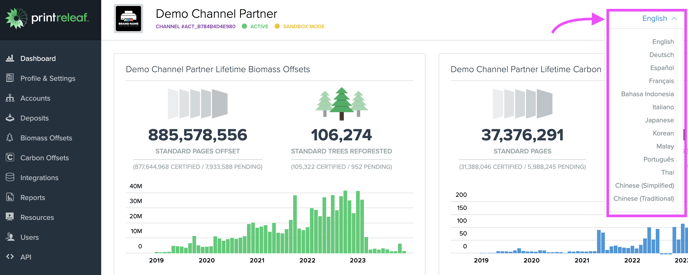
Changing Language Preference
-
Log into PrintReleaf Portal
-
Change Language: Click the Language dropdown Icon in the top right of the dashboard.
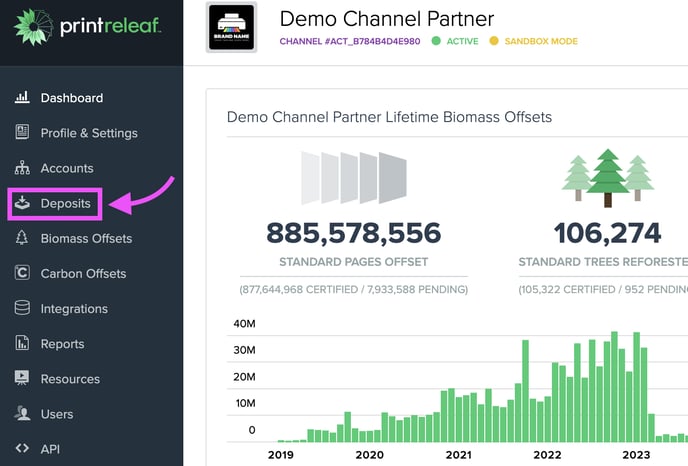
Uploading Multiple Deposits Using CSV
-
Access Deposits Tab: On the dashboard, select the Deposits tab.
-
New Deposit: Click 'Upload Deposits'
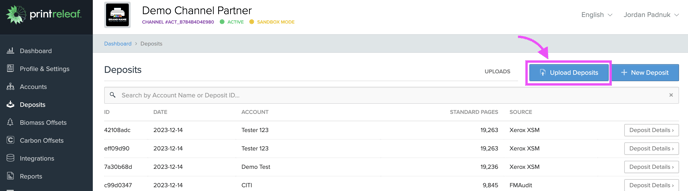
Upload Deposits will only appear if user has 'Full Access' vs 'Restricted'
Complete the steps outlined on the Upload Page. You can always reach out to support@printreleaf.com if you have any questions. We work with a wide variety of data formats, flexible schemas, and delivery methods to get exactly the report data we need from your MIS or ERP system, without you needing to do any extra work.
- Download CSV Template: begin by downloading a CSV file template which serves as a structured framework for inputting data.
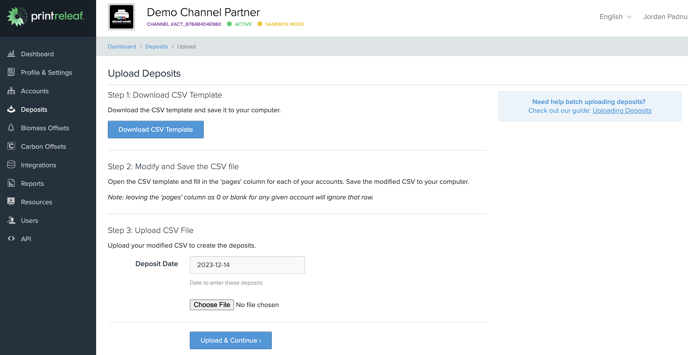
- Modify and Save the CSV File: Update the pages columns for each of the customers you wish to enter volume for. The "pages" column is the total page count that should be entered for the customers. You may delete rows for customers you do not wish to enter volume for, or leave the pages columns as 0 to ignore that row.
- Save the modified CSV template to your computer.
- Select the Deposit Date for this upload. All customer deposits in the CSV will be applied to the same date.
- Upload CSV File: The final step involves uploading the modified CSV file to log the deposits. Select the file and specify the deposit date, then proceed to upload the data to their PrintReleaf account.
Manually Entering a Deposit
-
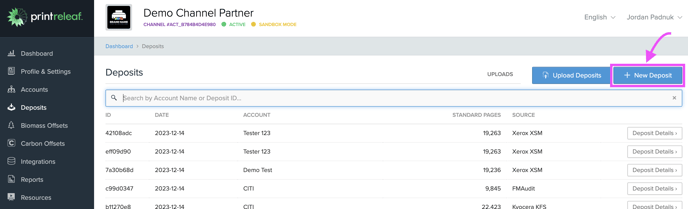
Access Deposits Tab: On the dashboard, select the Deposits tab.
-
New Deposit: Click '+ New Deposit'
- Select the Account: Begin by choosing the correct account from the dropdown menu where you will be depositing pages and then Set the Date the paper was consumed.
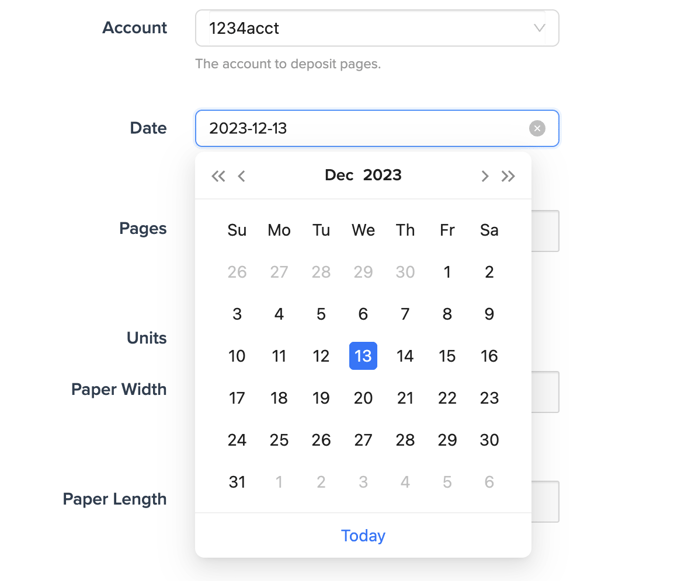
- Enter the Number of Pages: Input the total number of pages that you want to deposit in the 'Pages' field.
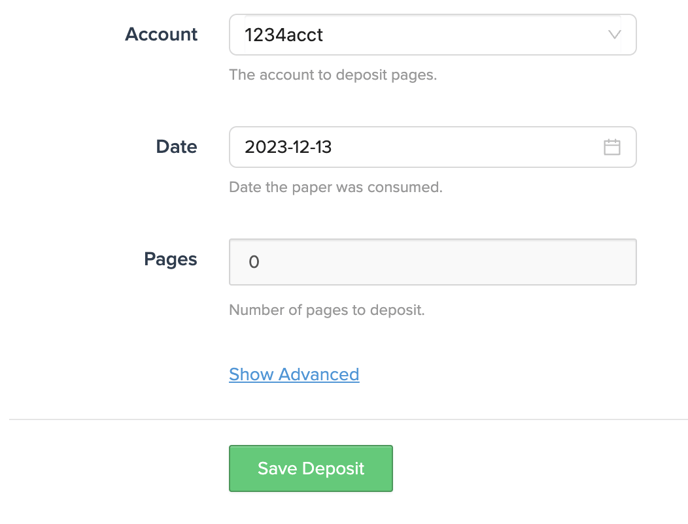
Complete Basic Deposit: Click the 'Save Deposit' button to finalize the entry.
OR
Input Advanced Info: Click the 'Show Advanced' Link and complete the following steps
Complete Advanced Info:
- Choose the Units: Decide if you want to measure the paper dimensions in inches or meters. The default unit is meters.
- Specify Paper Dimensions: Enter the width and length of the paper in the 'Paper Width' and 'Paper Length' fields. The default measurements correspond to standard paper dimensions.
- Select Paper Type: From the dropdown menu, choose the type of paper consumed. The default is set to standard 20# Bond/Writing/Ledger 75 gsm.
- Advanced Options (if necessary): Click on 'Hide Advanced' if you need to enter more detailed information about the paper quality or other specifications.
- Save the Deposit: After filling in all the details, click the 'Save Deposit' button to finalize the entry.
Adding or Removing a User at an End Customer
-
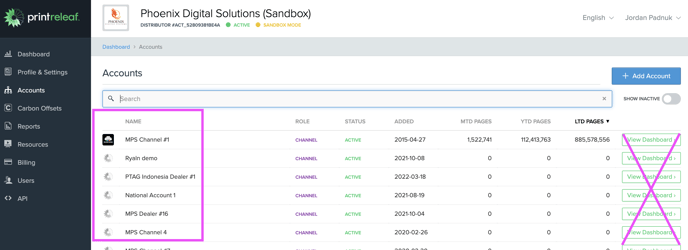
Navigate to Accounts Tab:
-
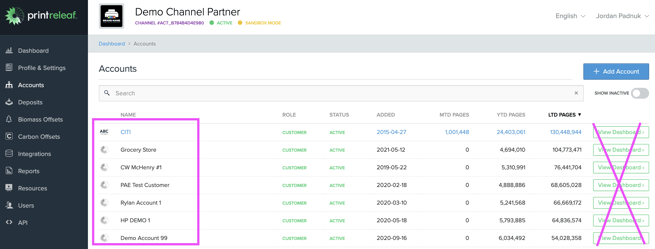
Select the desired End Customer Account: Click on Account Name, not 'View Dashboard'
-
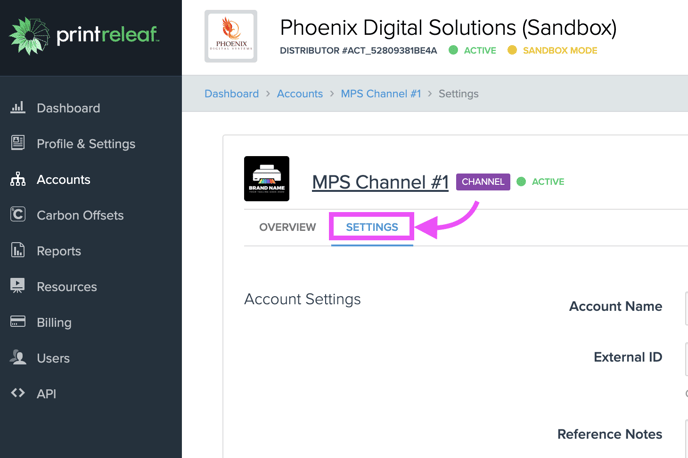
Add/Remove Users: In Settings, scroll down to 'Users' Section, add by filling out fields below or remove users by clicking the red trash icon.
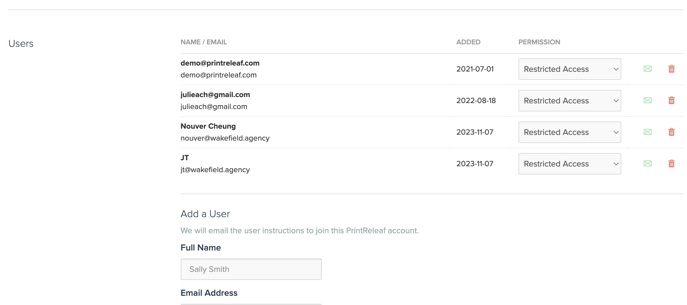
After adding a new user, a welcome email will be sent to notify the user who granted access to their PrintReleaf account. The email will contain instructions on how to create a password and login. If needed, you can always resend the welcome email by clicking the green letter icon. This will help the user reset their password.
Adding an End Customer
- Navigate to Accounts Tab:
-
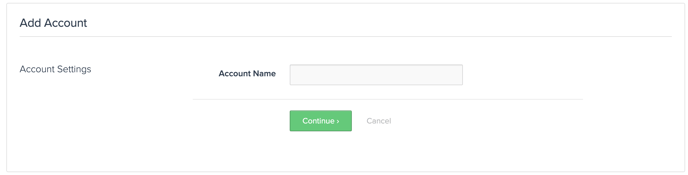
Click Add Account: enter Account Name, then Continue.
Downloading Lifetime Impact and Annual Impact Statements
-
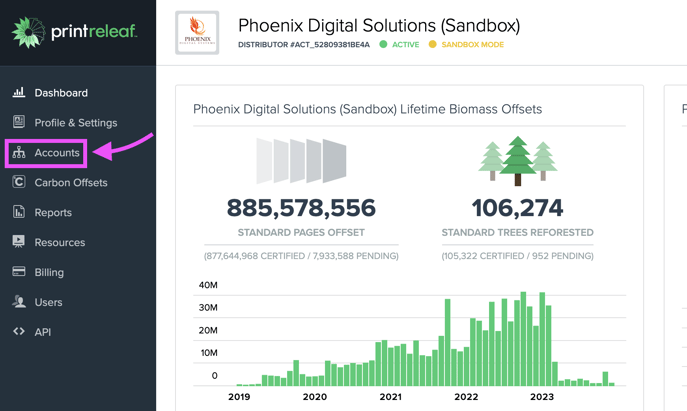
Navigate to My Impact Statements: Scroll down on your home dashboard page
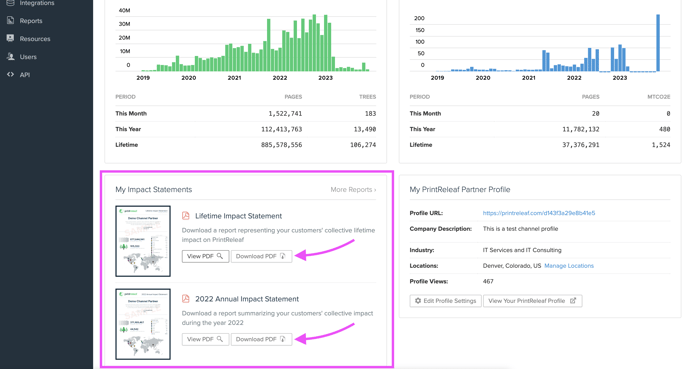
-
Download Statement: Click Download PDF
Managing users at your Channel Partner and/or Client Account
-
Navigate to Accounts tab
- Select the desired Account: Click on Account Name, not 'View Dashboard'
- Add/Remove Users: In Settings, scroll down to 'Users' Section, add by filling out fields below or remove users by clicking the red trash icon.
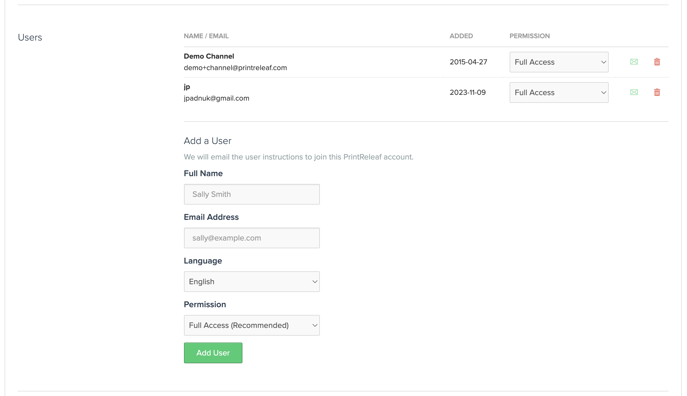
After adding a new user, a welcome email will be sent to notify the user who granted access to their PrintReleaf account. The email will contain instructions on how to create a password and login. If needed, you can always resend the welcome email by clicking the green letter icon. This will help the user reset their password.
Managing Users at Your Account
- Navigate to Users tab
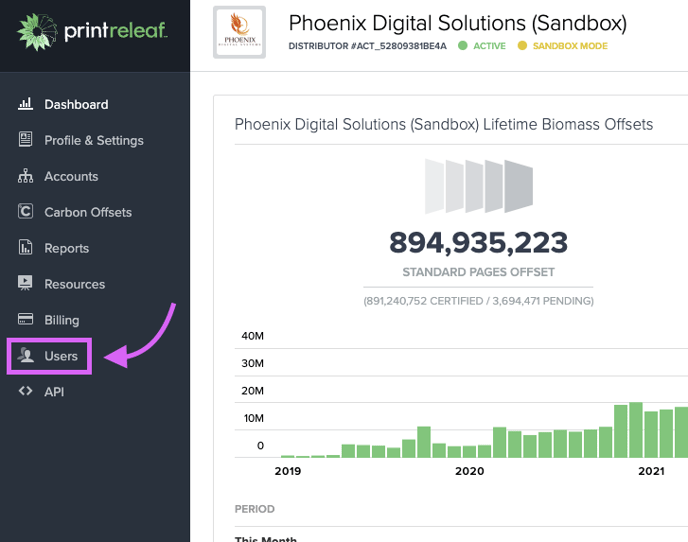
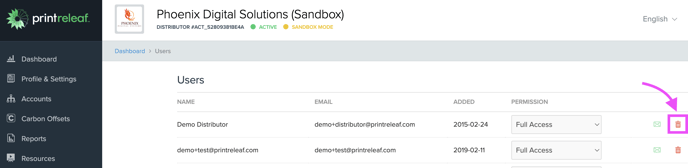
- Remove a User: click the trash icon
-
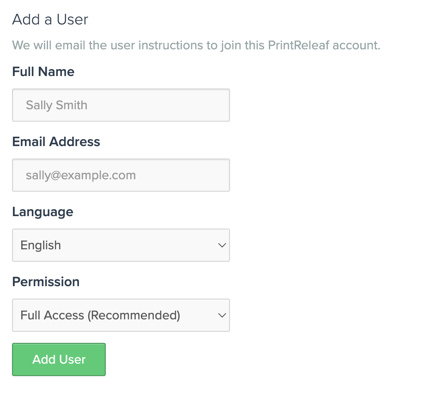
Add a User: scroll down and complete the form
Setting Up PrintReleaf Partner Profile
- Set Up Partner Profile: On any newly created Account's Home Page, scroll down to 'My PrintReleaf Profile and click 'Get Started'
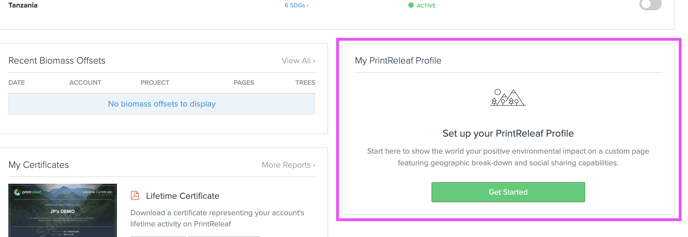
- Complete Profile Form: In your partner profile you can fill out information that will be on your company page on PrintReleaf.
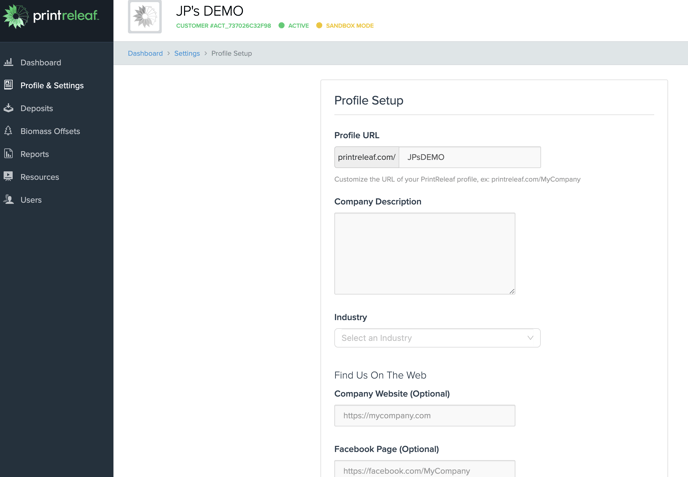
After saving your profile information, your profile will be available on our Partner Directory, plus a code snippet will be generated to create a web widget for your company's website.
With this widget (image below), you can easily share the latest updates on paper consumption and reforestation achievements.

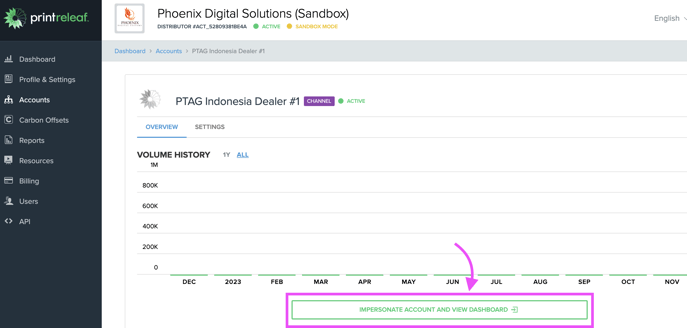
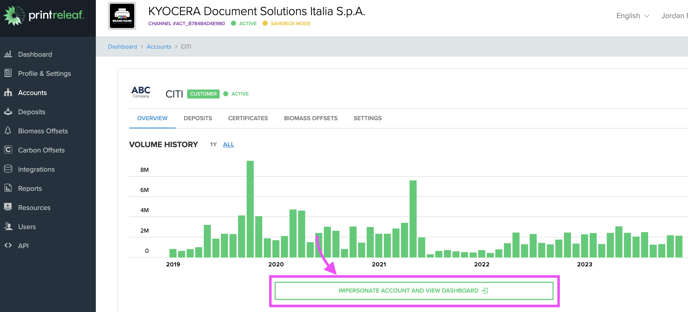
How to 'Impersonate' channel and/or client Accounts
- Navigate to Accounts tab
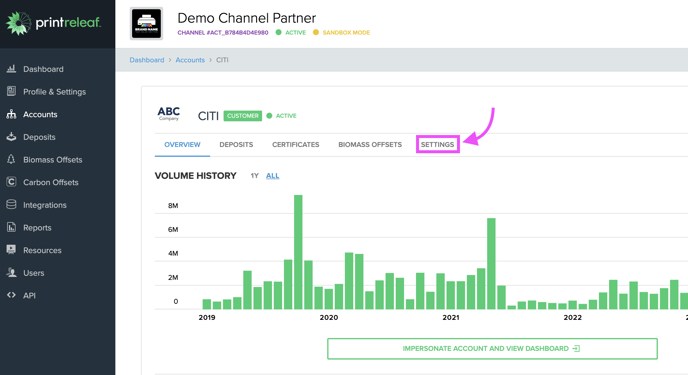
- Select the account that you wish to Impersonate: click the Name of the Channel account.
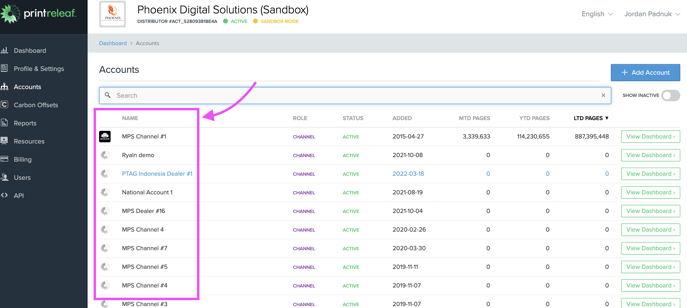
- Click the green button below the bar chart to impersonate channel and/or client Accounts
How a Channel Partner 'Impersonates' Customer Accounts
- Navigate to Accounts Tab:
- Select the account that you wish to Impersonate: click the Name of the Customer Account.
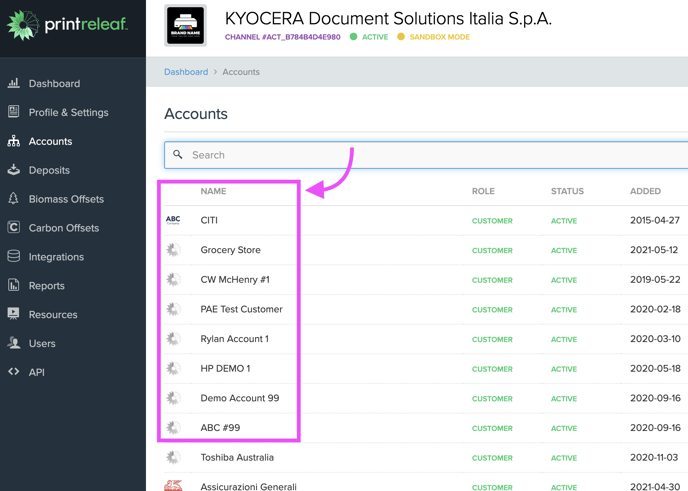
- Click the green button below the bar chart to impersonate your Customer Account
How to add a new Account then Invite Users
This is a step-by-step guide to add Channel Partners and/or Clients one at a time. If you need assistance uploading in bulk, please feel free to reach out to our support team at support@printreleaf.com
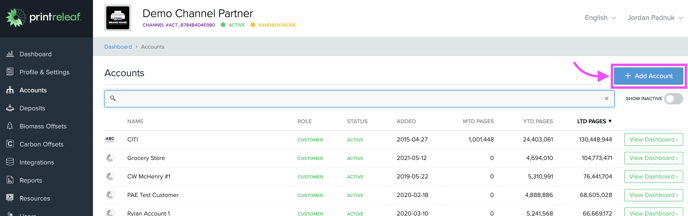
- Navigate to Accounts tab
- Click the '+ Add Account' button to create a new Account
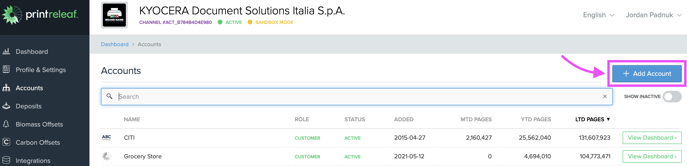
- Add Account Name, then click Continue and you will be directed to your new account's Home Page. The Account is now Active
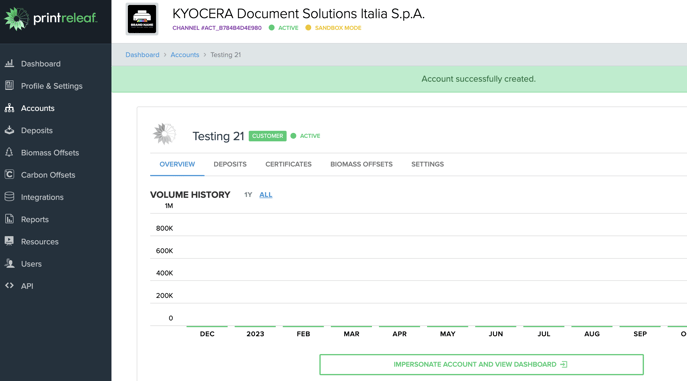
To access the Account's perspective, you can utilize the 'Impersonate' feature. This allows you to view the platform as a user within the Channel and/or Client Account.
To invite a Channel Member User to PrintReleaf, Click Settings

Scroll down to the Users section and Click 'Add User'
When selecting User Permission, it is recommended to choose 'Full Access' only if you want to give your User the capability to upload Deposits or view Server Health.

Your client will receive an automated email from PrintReleaf, inviting them to access their own PrintReleaf portal. The email will clearly state that it was you who added them to the portal..
Resetting PrintReleaf Password
Visit Reset Page: Go to https://printreleaf.com/password/forgot
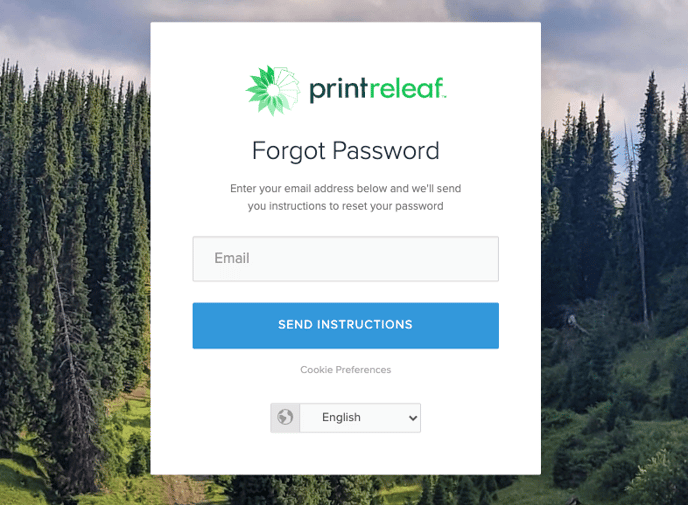
Submit Request: Enter email and follow instructions received via email.